
 My Penny Project – A Stylish DIY Copper E.A.T. Sign

When I first saw this cool DIY penny project on Pinterest, I knew I would be making it. I had been searching for a DIY project that would add a little pop of color and style to my dining room walls. This was perfect. I followed the pin to The Crafted Sparrow and the rest is history. There was no way I was NOT going to make this project.
I absolutely love everything about this DIY project – the look, the feel, and how incredibly easy it is to make. You can complete this project in a matter of a few hours with just 5 five items, a little patience, a glass of wine and your favorite music. Gather your pennies however you wish – empty your penny jar, make a trip to the bank for rolls of pennies, or raid your car cupholders. It doesn’t matter the condition of your pennies, shiny and new mixed with old and weathered will give your E.A.T. sign a little depth and character. Some of my favorite pennies were the ones that were corroded and took on a look of patina. Cool, very cool. We have a lot of pewter and brushed nickel finishes in our new home, so the warmth exuded by the copper pennies and copper paper mache letters is the perfect balancing detail.
Here are the supplies I used:
- Paper Mache Letters
- 8 rolls of pennies (even from the bank, there was a nice mixture of old and new pennies!)
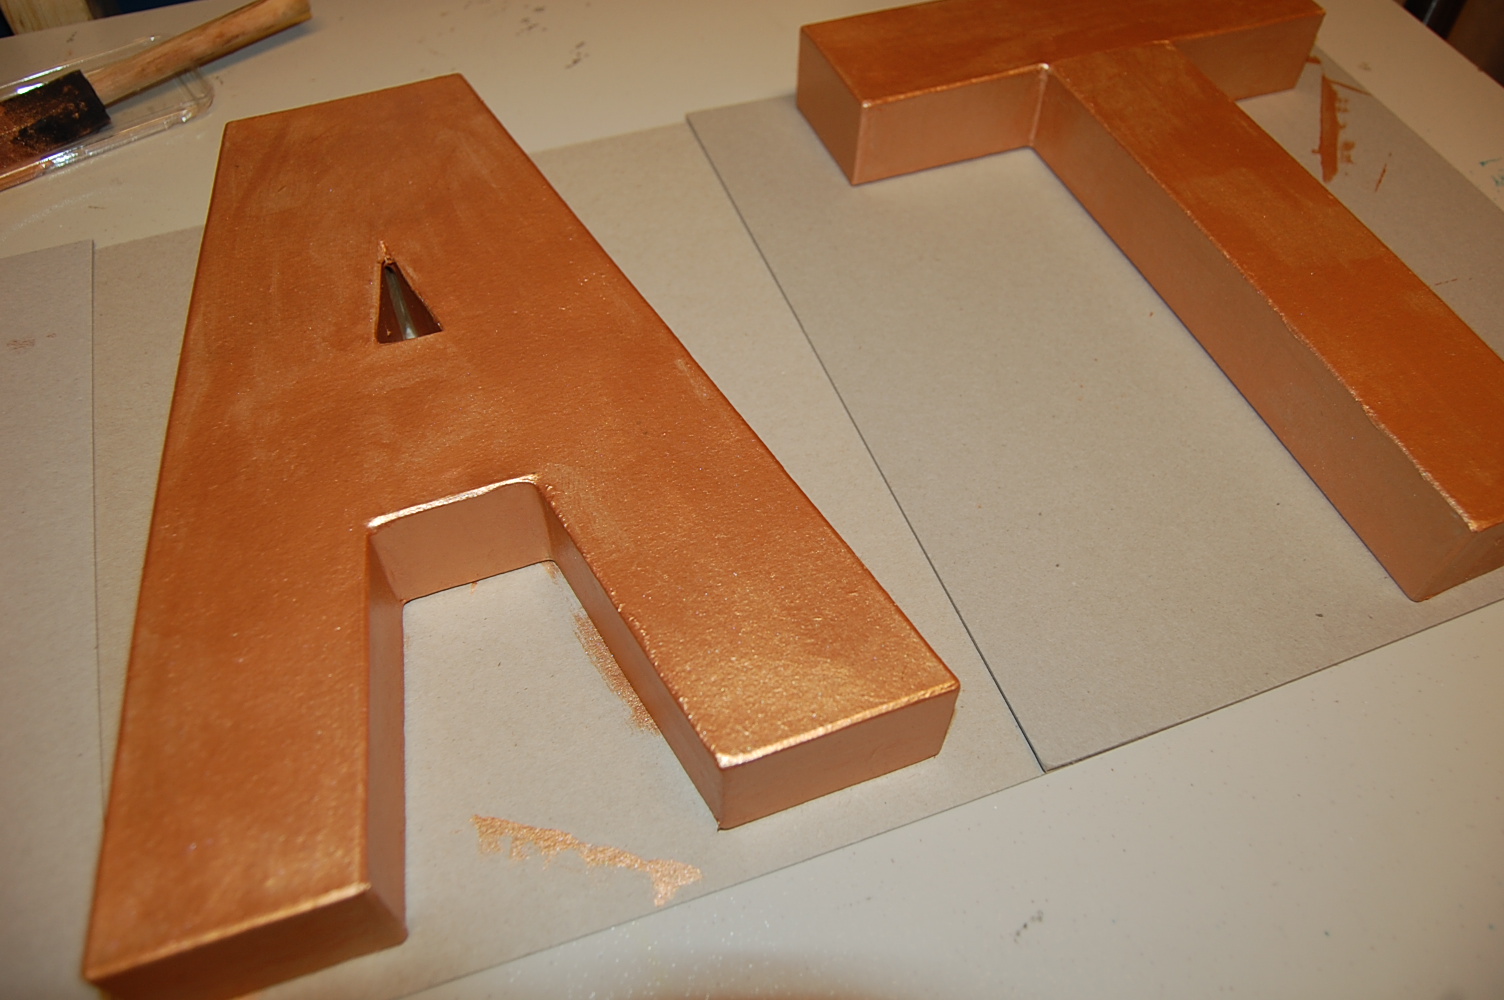
- Martha Stewart Crafts Multi-Surface Metallic Acrylic Paint in Copper (32109)
- Krylon Satin Finish Spray Sealer
- E6000 Clear Adhesive
The project is pretty simple and straightforward. Even if you consider yourself to be not a do-it-yourselfer, trust me, you can totally do this!
Step 1 – Paint the paper mache letters with the copper paint using a foam brush. Easy to do and dries quickly.
Step 2 – Glue down your pennies with the E6000 adhesive. This is where the patience, wine and music come into play. You can keep it ultra-simple and just do a single layer of pennies. I chose to do one row of a second layer on each letter to add some visual depth. It’s your project so play around!


Step 3 – After each of your letters is covered to perfection in pennies and the adhesive is set, spray each letter, front and sides, with the Krylon Satin Finish and let it dry. This is an important step. It provides a nice satin lacquered finish and puts an extra layer of adhesion in place for the pennies. You didn’t do all of this work for nothing.

Step 4 – After your letters have dried, they are ready to be displayed for all to see. I knew that I wanted to hang mine on my dining room wall. I am certain there are a number of different ways to hang these, but I am married to an engineer and we only do these things once – doing it pretty is not required by an engineer. Because the pennies add weight to the paper mache letters, my hubby re-enforced the back areas of the letters with some of our daughter’s “stylish” duct tape before attaching the picture hooks. The letters were then ready to hang on the wall hooks. We also added mini round clear rubber cabinet bumpers (we had some hand from our cabinets being installed) to the bottom corners of each letter to help them hang more evenly due to the picture hooks creating increased space between the wall and the letter. They worked like a charm.

Step 5 – Take a step back, admire your creation and give yourself a pat on the back. I love how mine turned out. I love seeing them hung on my wall. The warm gray walls and dark wood tones of our furniture really make them stand out. They are a welcomed addition to my wall space and I have a feeling they will be there for a while. I have received so many compliments on this project and so will you!!

For me, I knew that I wanted to use pennies because I wanted to incorporate the warm look and feel of copper into my kitchen and dining area, but you could definitely incorporate other types of coins and/or use different paint colors and end up with a completely different-looking project.
If you are looking for a versatile DIY project that is fun and simple, this one is definitely worth making. So, grab your penny jar or loose change jar and let the fun begin!
Until next time,
![]()

They turned out so awesome! Thank you so much for sharing these with me, I’ve been so lucky to see how many people loved my project and re-created it…it makes me so happy! Have a super weekend.
LikeLike
Thanks Rebecca! I am so happy to have found the project and inspiration. ~Michelle
LikeLike